Scenery Props – Cobbled Streets & Muddy Roads
When I started constructing this set, my terrain was a plain flat grass covered field. When I began adding houses, it looked a bit unnatural to have nice undamaged grass streets, so I decided some detailing needed to be added.
I considered purchasing some cobbled streets and may still do so for some sets. The ready made ones I have seen so far are flat. I wanted some which have a slightly convex profile. i.e. They are slightly higher in the middle than at the edges. I decided to make some.
Of course there are plenty of other props that can be added as well as cobbled streets to give a more authentic atmosphere, but they can come later.
My first step was to use SketchUp to create an object that had the right profile.
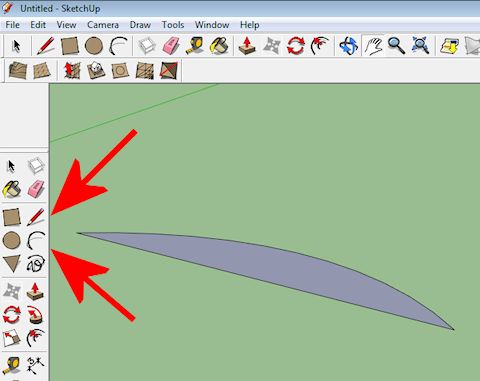
First I drew a simple Arc and joined its two end points with a straight line.
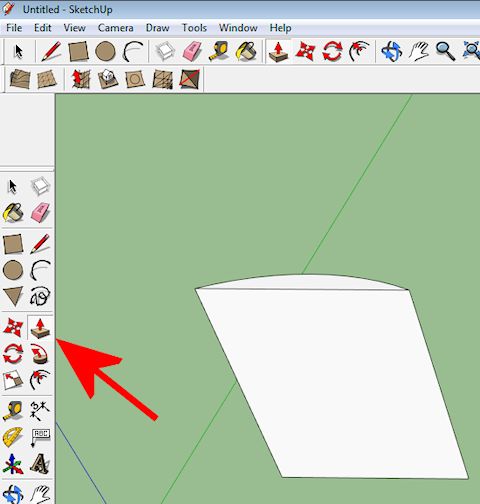
Then I extruded the shape and saved the .skp file. I could have applied a SketchUp Texture, but to enhance the realism I decided to add a Material in iClone instead.
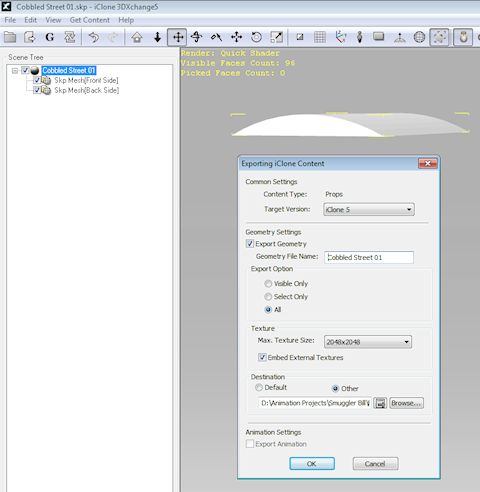
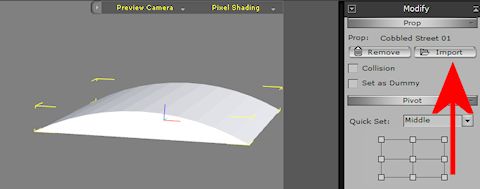
In 3DXchange the .skp file was opened and the object was rotated to be flat on the ground and then exported as an iProp for use in iClone.
The prop was then imported into iClone.
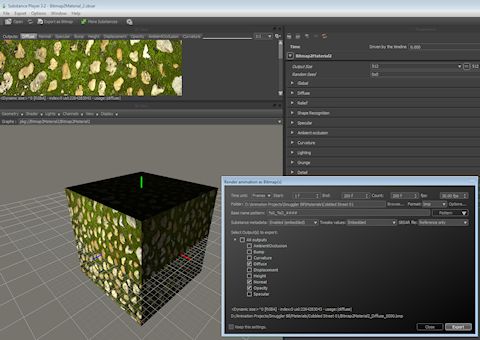
For the next step I prepared some materials to cover the white coloured iProp. I would have gone to a nearby village to photograph cobbles myself, but I live in Singapore, which is not well known for its cobbled streets, so I purchased some royalty free stock texture photos of different cobble styles and even some mud. After quite a lot of searching, I found the best selection for my purposes at 123RF.com
I then used the B2M program (described in an earlier post) to generated iClone compatible Diffuse, Opacity and Bump maps.
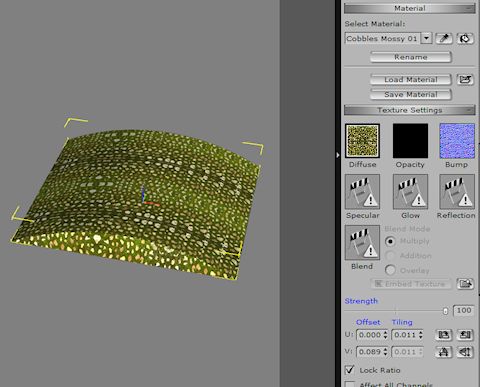
These maps were then loaded. The white iProp became invisible (I am not sure if this is supposed to happen), but by Saving the material (with a name I gave it) and then Loading the material I had just saved, the material appeared on the surface of my iProp. I adjusted the Tiling parameter to get the stones to be the size / density I wanted. The curvature of the prop looked too pronounced, so I reduced the setting for the Y axis on the prop Scale adjuster to reduce the height and hence curvature of the prop.
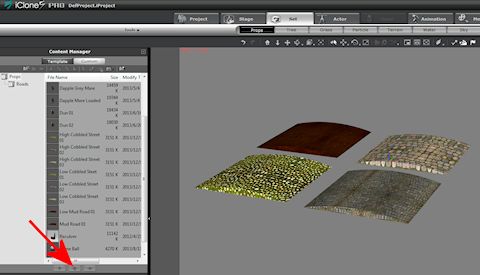
Then I saved the newly surfaced iProp in the prop content library and repeated the processing using the other texture .jpgs I had purchased.
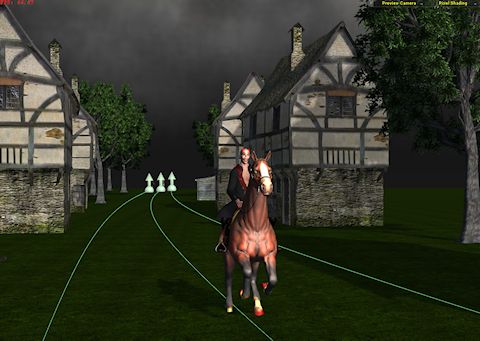
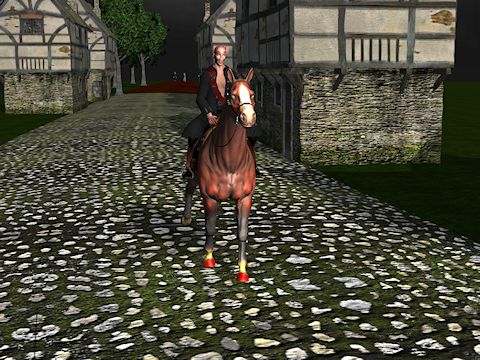
I then laid a path between my houses, by placing one of my newly created iProps and propagating it using the Move + CTRL feature. The photo above shows how my Set for the next movie sequence looks now.
It needs more work, but it is coming along.
Tony
